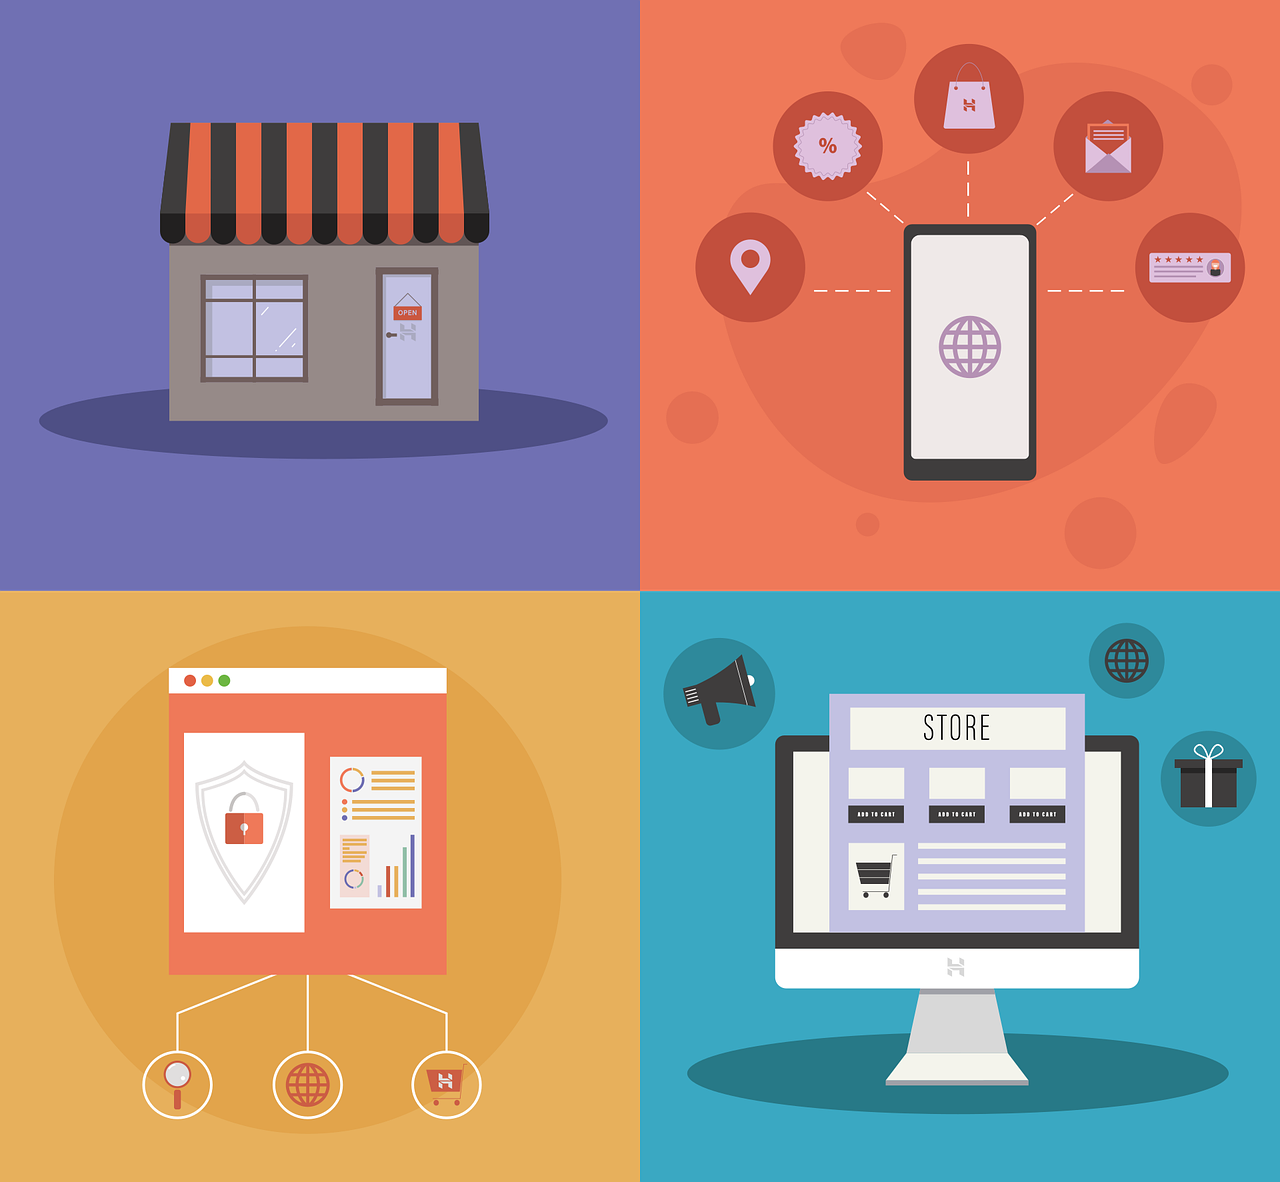
Before you dive into setting up your online store or other sales channels, or before you get your Dynamics 365 Commerce rolling, there are some basic things you have got to do first. Here's what you need to sort out:
-
Initial data configurations that are not implementation specific.
-
Legal entity global parameters.
-
Payment methods to be used in the Commerce channels.
-
Initial data that is required for creating a Commerce channels.
-
Valid modes of delivery that can be used in different channels.
-
Info codes that can be used for actions in the point of sale.
This diagram lays out all the prep work you need to get the sales channel going.
.jpg?width=796&height=335&name=Picture1%20(1).jpg)
In this guide, we're going to walk you through the initial setup, scheduling data distribution, and configuring all your Commerce settings.
Save yourself the hassle and don't bother entering this data by hand. Just head over to Retail and Commerce > Headquarters Setup > Parameters > Commerce Parameters > General. Hit the Initialize button here, and it'll fill in the blanks in the tables with some standard data.
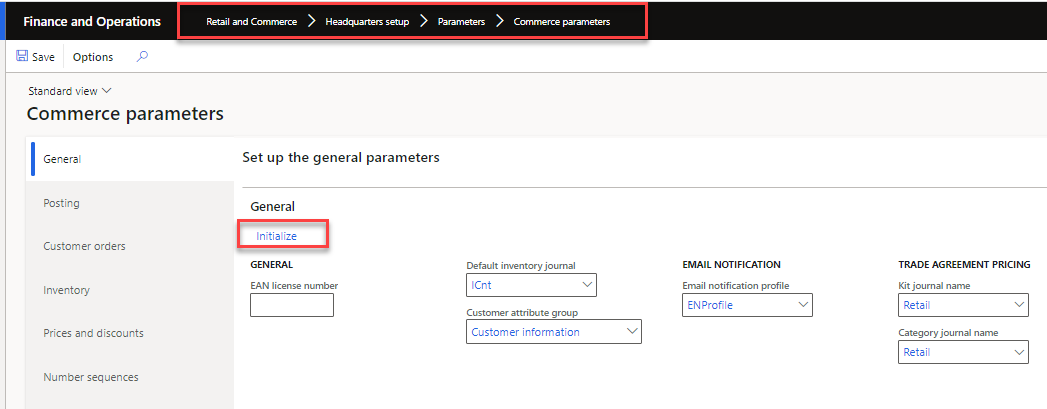
Before pressing Initialize button, make sure you've entered the language and address details for your business, or else the data might end up being a bit wonky.
Dynamics 365 Commerce has several spots for tweaking settings:
-
Commerce parameters: is where you'll find commerce-related settings (look under Retail and Commerce > Headquarters setup > Parameters > Commerce parameters).
-
Commerce shared parameters: is for stuff that applies across your business (you'll find this under the same path as above).
-
Commerce scheduler parameters: is all about scheduling and timelines (also under the same path as above).
All these areas have settings that you need to personalize for your brand.
-
The system has this handy tool at HQ for managing data. It's like a delivery service that moves data between HQ and the sales channels. The setup data goes from HQ to the channels (that's called a Download), and the sales data travels back from the channels to HQ (that's an Upload). All this is organized by what we call distribution schedules.
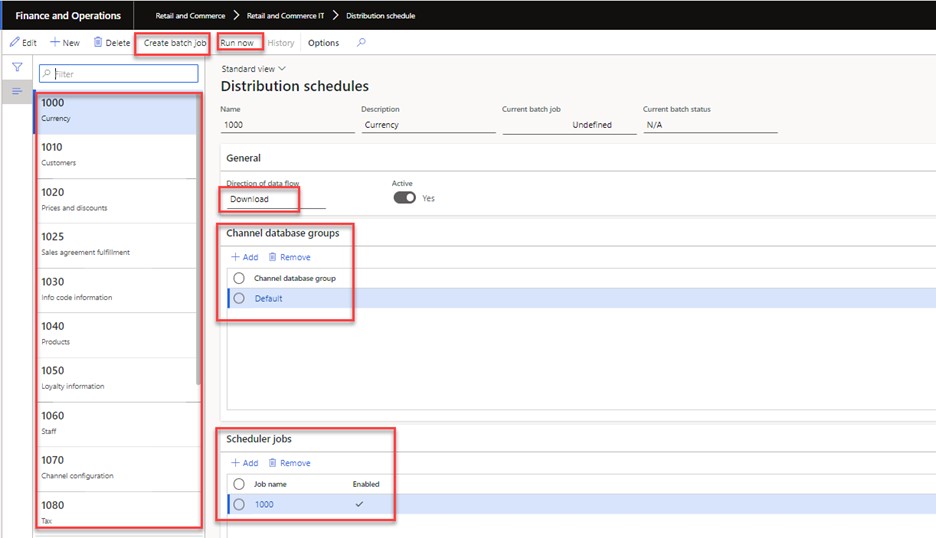
You'll find the "Distribution Schedules" page in the Retail and Commerce > Retail and Commerce IT menu.
Moving on, the next things you'll need to play with include setting up how your warehouse and payments work, nailing down delivery options, and sorting out those all-important info codes.
We'll dive deep into each of these areas in the upcoming parts of our 'How to Set Up Omnichannel in Dynamics 365 Commerce' series.
Got questions? Just hit us up!